Naomiki Sato Origami Secrets: Easy Paper Craft
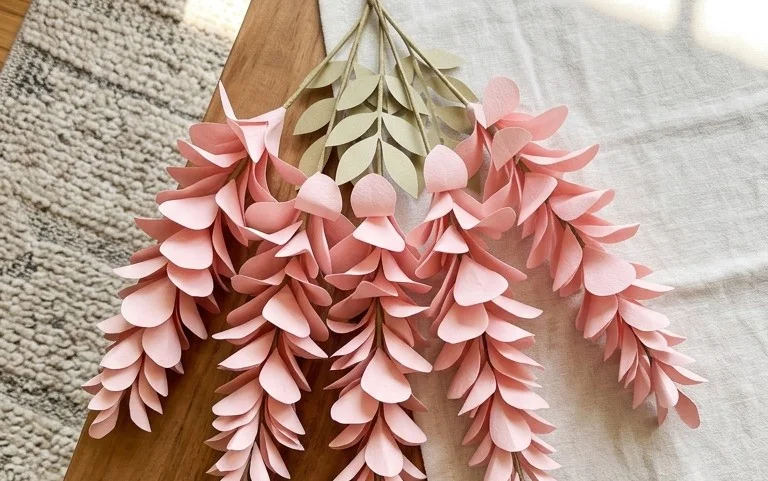
Origami designer Naomiki Sato has a gift for creating breathtakingly intricate yet elegant models, and today, we’re diving into his world! Get ready to fold a stunning, multi-faceted kusudama flower, a beautiful, geometric bloom made from multiple interlocking units. Imagine a vibrant, crystal-like blossom that seems to shimmer with life – perfect for bringing a touch of handmade beauty to your home or as a truly unique gift.
This tutorial is ideal for those with a little origami experience, perhaps intermediate folders or ambitious beginners looking to challenge themselves. We estimate this project will take about 45-60 minutes to complete. Throughout this session, you’ll learn about precise folding techniques and how to assemble complex modular pieces seamlessly. Let’s unlock some of Naomiki Sato’s design secrets together – grab your paper, and let’s get folding!
Origami Designer’s Secrets: Naomiki Sato
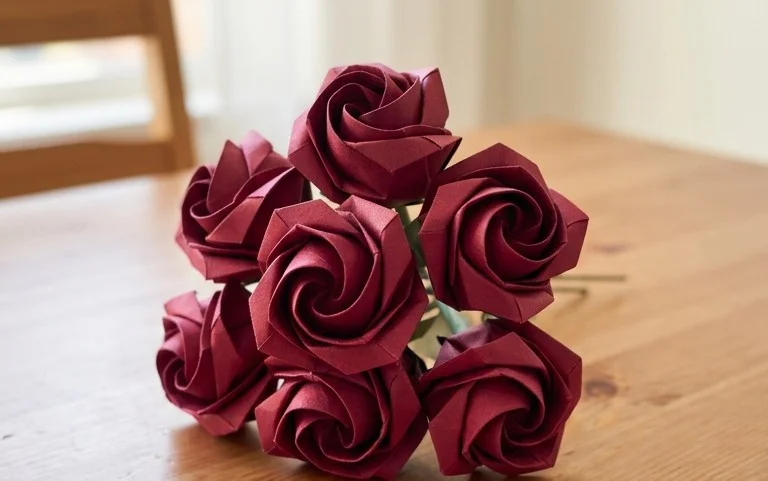
Welcome, fellow origami enthusiasts! Today, we’re diving into the captivating world of Naomiki Sato, a truly masterful origami designer whose creations often possess an elegant simplicity that belies their intricate beauty. Sato’s work frequently features flowing lines and a sense of organic form, and we’re going to explore how to bring one of his signature designs to life. I remember the first time I encountered one of his models – I was utterly mesmerized by how something so complex could emerge from a single sheet of paper. It felt like magic, and I’m so excited to share that feeling with you.
Choosing Your Paper: The Foundation of Success
Before we begin folding, let’s talk about the most crucial element: the paper. The right paper can elevate your origami from good to spectacular, and for Sato’s designs, this is especially true.
Type and Weight
For most of Naomiki Sato’s models, especially those with delicate curves and a focus on form, a thinner, strong paper is ideal. My personal favorites include:
* **Kami:** This is your standard, everyday origami paper. It’s readily available, comes in a dazzling array of colors and patterns, and is generally a good starting point for beginners. For Sato’s designs, look for higher quality Kami that feels a little crisper and holds a crease well.
* **Washi:** This is traditional Japanese paper, and it’s often the secret weapon behind many stunning origami creations. Washi can vary greatly, but many types are thin yet incredibly strong, with a beautiful texture. Some types of Washi are specifically designed for origami and are perfect for achieving Sato’s signature flowing forms.
* **Tant:** Another excellent choice, Tant paper is a bit thicker than Kami but still holds crisp folds. It has a pleasant matte finish and is very forgiving, making it great for practicing.
When it comes to weight, you’re generally looking for something between 60-80 gsm (grams per square meter). Anything much heavier can make intricate folds difficult to manage, and anything too thin might tear too easily.
Size Matters
The size of your paper will dictate the final size of your model. For your first attempt at a Sato design, I’d recommend starting with a square sheet that’s at least 15cm x 15cm (6 inches x 6 inches). This gives you enough room to manipulate the paper without it becoming too fiddly. As you gain confidence, you can experiment with larger sheets for more dramatic results or smaller sheets for intricate embellishments.
Single or Double Sided?
This is a matter of aesthetic preference and the specific design. Many of Sato’s models look fantastic with a single colored side and a white reverse. This can create interesting visual contrast and highlight the dimensionality of the folds. However, if you’re using a beautiful patterned paper or want a uniform color throughout, double-sided paper is also an excellent choice. For your first time, I’d suggest a paper with one color and a white back so you can clearly see the effect of each fold.
Mastering the Base Folds: The Building Blocks
Naomiki Sato’s designs, while unique, often build upon a foundation of fundamental origami folds. Mastering these with precision is key to achieving beautiful results.
The Preliminary Base (Square Base)**:** This is one of the most common starting points in origami.
1. Begin with your square paper, white side up (if applicable).
2. Fold the paper in half horizontally, bringing the top edge down to meet the bottom edge. Crease firmly and unfold.
3. Fold the paper in half vertically, bringing the left edge to meet the right edge. Crease firmly and unfold. You should now have two intersecting creases forming a cross.
4. Flip the paper over so the colored side is facing up.
5. Fold the paper in half diagonally, bringing the bottom-left corner up to meet the top-right corner. Crease firmly and unfold.
6. Fold the paper in half diagonally again, bringing the bottom-right corner up to meet the top-left corner. Crease firmly and unfold. You now have four creases radiating from the center.
7. Hold the paper with the colored side up. Gently push the left and right sides inwards along the vertical crease. The top flap should naturally come down. As you bring the top point down, the paper will collapse into a smaller square. This is the preliminary base. Ensure all edges and corners align perfectly.
The Bird Base:** This is another foundational fold, crucial for many animal and winged models.
1. Start with your preliminary base, ensuring the open corner (where all the flaps meet) is pointing towards you.
2. Take the right flap of the top layer and fold its bottom edge to align with the center crease. Crease firmly.
3. Repeat with the left flap of the top layer, folding its bottom edge to the center crease. Crease firmly. You should now have a kite shape on the top layer.
4. Fold the top triangular point down along the line created by the tops of the kite shape. Crease firmly and then unfold this triangle. This crease will be a guide.
5. Now, carefully open up the folds you just made on the top layer. You’ll use the creases you’ve created. Lift the bottom point of the top layer upwards, allowing the sides to fold inwards along the existing creases. This is called a petal fold. As you lift, the paper should naturally flatten into a diamond shape. Ensure the edges are crisp and aligned.
6. Flip the entire model over.
7. Repeat steps 2-5 on this side. You now have the bird base. It should have two ‘legs’ at the bottom and two flaps at the top.
The Fold Sequence: Bringing a Sato Design to Life
Let’s walk through a simplified yet elegant model inspired by Naomiki Sato’s style. We’ll assume you’re starting with a square piece of paper, white side up.
1. **Initial Folds:** Begin by folding the paper in half horizontally (top edge to bottom edge) and then in half vertically (left edge to right edge). Unfold both. This creates a central cross crease.
2. **Diagonal Folds:** Flip the paper over to the colored side. Fold the paper in half diagonally from corner to corner, then unfold. Repeat for the other diagonal. You should now have an X-shaped crease.
3. **Forming the Waterbomb Base:** Hold the paper with the colored side up. Gently push the left and right edges inwards along the vertical crease. The top point should then come down. The paper will naturally collapse into a smaller square. This is the waterbomb base. Make sure the points are sharp.
4. **Opening the Flaps:** With the waterbomb base, orient it so the closed point is at the top and the open edges are at the bottom. Take the right flap of the top layer and fold its bottom edge up to meet the top point. Crease firmly. Repeat with the left flap of the top layer, folding its bottom edge to the top point. Crease firmly.
5. **Creating the Petal Fold:** Now, carefully open up the two flaps you just folded upwards. You’ll see a horizontal crease across the center of the top layer. Gently lift the bottom point of the top layer upwards. As you lift, the sides should naturally fold inwards along the creases you made in step 4, creating a diamond shape. This is a petal fold. Ensure the edges are neat.
6. **Repeat on the Other Side:** Flip the entire model over and repeat steps 4 and 5 on the other side. You now have what is often called a kite base with two ‘legs’ at the bottom.
7. **Refining the Legs:** Look at the two ‘legs’ at the bottom. For this model, we’re going to create some curvature. Take the right leg and fold it upwards at an angle, so the edge of the leg aligns with the center line. Crease firmly. Repeat this on the left leg, folding it upwards at the same angle.
8. **Forming the ‘Head’:** Now, focus on the top point of the model. Gently pull the two top flaps apart slightly. You should see a small opening. Carefully tuck one flap inside the other, creating a pointed shape at the top. This will become the ‘head’ of our model.
9. **Shaping the ‘Wings’ or ‘Body’:** The two remaining flaps at the sides are what will give our model its characteristic Sato elegance. Gently pull these flaps outwards and downwards, allowing them to curve naturally. Sato often achieves a beautiful, flowing curve by gently curving the paper itself rather than making sharp creases. You can refine this by lightly pinching and shaping the paper.
Common Pitfalls and How to Avoid Them
It’s completely normal to encounter a few bumps along the road when you’re learning new origami folds. Here are two common places beginners often go wrong with designs like these, and how to navigate them:
1. Imprecise Creases:** This is probably the most common issue. When your creases aren’t sharp and precise, the subsequent folds won’t align correctly, leading to a messy-looking final model.
* **How to Avoid:** Always use your fingernail or a bone folder to press down firmly along each crease. Ensure you are folding edge to edge and corner to corner accurately before creasing. Take your time with each fold; rushing is the enemy of precision. If a crease isn’t quite right, it’s often better to unfold carefully and re-crease it accurately, rather than trying to force the next step.
2. Forcing the Paper:** Sometimes, the paper just doesn’t seem to want to cooperate. You try to make a fold, and it bunches up or tears.
* **How to Avoid:** This usually means you’re either using the wrong type of paper for the complexity of the fold, or you’re not utilizing the existing creases correctly. For Sato’s designs, which can have a lot of layers coming together, thinner yet strong paper is key. Secondly, look closely at the creases you’ve already made. They are your guides. Gently coax the paper along these existing lines rather than trying to force it into a new shape. Sometimes, a slight puff of air or a gentle nudge can help the paper find its intended path. When forming the petal folds (step 5), ensure you’re lifting the point and letting the sides collapse inward along the creases, not forcing the sides down.
Varying Your Creation: A World of Possibilities
The beauty of origami, and Sato’s designs in particular, is their versatility. Once you’ve mastered the basic fold, the world of variations opens up.
* **Size:** As mentioned, simply using a larger or smaller square of paper will change the overall dimensions of your model. Larger models can be quite dramatic, while smaller ones can be perfect for intricate details or even as part of a larger display.
* **Paper Pattern and Color:** This is where you can really let your creativity shine!
* **Patterned Paper:** Using paper with subtle patterns can add a sophisticated texture to your model. Think about how the pattern will interact with the folds – will it emphasize the curves or get lost in the details?
* **Color Combinations:** If you use paper with a different color on each side, you can strategically reveal different colors during the folding process. For example, if you start with a white side up, you might be able to show hints of color on the ‘wings’ or ‘head’ of the model. Experiment with contrasting colors for a bold statement or analogous colors for a harmonious look.
* **Metallic or Iridescent Paper:** For a touch of luxury, try folding with metallic or iridescent paper. These can catch the light beautifully and give your Sato-inspired model an ethereal glow.
Displaying and Gifting Your Masterpiece
You’ve poured your care and attention into creating a beautiful origami model, and now it’s time to showcase it or share it with someone special.
* **Display Ideas:**
* **On a Shelf or Mantelpiece:** A single, well-crafted model can be a stunning focal point.
* **As Part of a Mobile:** String several models together to create a unique and dynamic mobile.
* **In a Shadow Box:** Frame your origami in a shadow box for a more permanent and protected display. You can even add a small plaque with the designer’s name.
* **With Lighting:** Place a small LED light behind or beneath your model to highlight its form and create an enchanting glow.
* **Gifting Ideas:**
* **A Thoughtful Card:** Tuck your origami creation inside a handmade card for an extra special touch.
* **As a Gift Topper:** Instead of a bow, use your origami model to adorn the top of a gift.
* **In a Gift Box:** Present your origami in a clear or decorative box so the recipient can admire it immediately.
* **As a Bookmark:** For smaller, flatter models, they can make incredibly unique and personalized bookmarks.
Creating origami inspired by Naomiki Sato is a rewarding journey. It’s about precision, patience, and a touch of artistic flair. Don’t be discouraged if your first few attempts aren’t perfect. Each fold is a learning experience, and with practice, you’ll find yourself creating elegant and beautiful models that would make any designer proud. Happy folding!
Conclusion
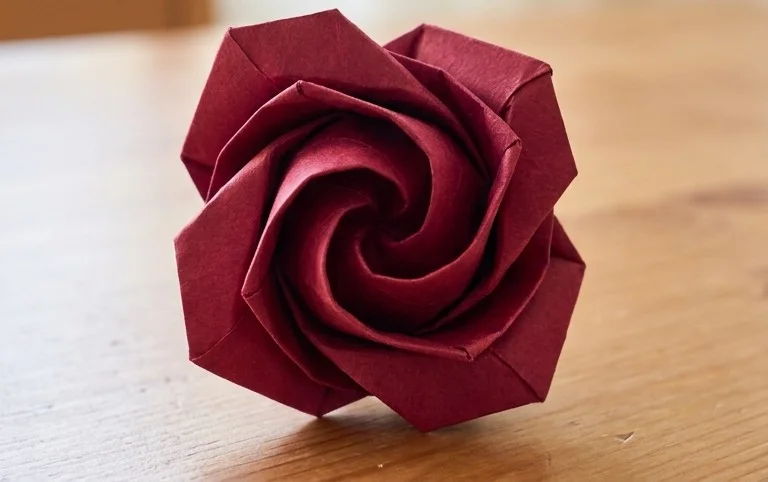
You’ve now peeked behind the curtain of Origami Designer’s Secrets: Naomiki Sato! Don’t be discouraged if your first attempt isn’t perfect; remember, every master folder started with their first fold. Embrace the process, and consider this your stepping stone to even greater paper artistry. Once your beautiful model is complete, why not share your creation with a friend or online? For your next adventure, try folding a simple crane or perhaps a more complex dragon. The world of paper folding is vast and rewarding. Keep exploring, keep creating, and discover the joy of bringing paper to life!